How to Install Nginx on Centos 7 Instance
Nginx is one of the most popular web server in the world. In many cases, Nginx uses less resources than Apache web server.
Before you install Nginx, you should connect to your instance via ssh and you should have user with sudo privileges.
We will begin by updating our system, after that we can install nginx packages. You need to add Centos 7 EPEL repository before installing the Nginx packages.
$ sudo yum install epel-releaseAfter that, you can install Nginx to your Centos 7 instance.
$ sudo yum install nginxAfter downloading, you should check status of the Nginx service.
$ systemctl status nginx
nginx.service - The nginx HTTP and reverse proxy server
 Loaded: loaded (/usr/lib/systemd/system/nginx.service; disabled)
 Active: inactive (dead)
As you can see at the terminal output, the Nginx service is inactive. You should start the Nginx service by typing:
$ sudo systemctl start nginx
$ systemctl status nginx
nginx.service - The nginx HTTP and reverse proxy server
 Loaded: loaded (/usr/lib/systemd/system/nginx.service; disabled)
 Active: active (running) since Sal 2017-12-05 08:24:04 UTC; 2min 14s ago
 Process: 10414 ExecStart=/usr/sbin/nginx (code=exited, status=0/SUCCESS)
 Process: 10410 ExecStartPre=/usr/sbin/nginx -t (code=exited, status=0/SUCCESS)
 Process: 10408 ExecStartPre=/usr/bin/rm -f /run/nginx.pid (code=exited, status=0/SUCCESS)
 Main PID: 10415 (nginx)
 CGroup: /system.slice/nginx.service
 ├─10415 nginx: master process /usr/sbin/nginx
 ├─10416 nginx: worker process
 └─10417 nginx: worker process
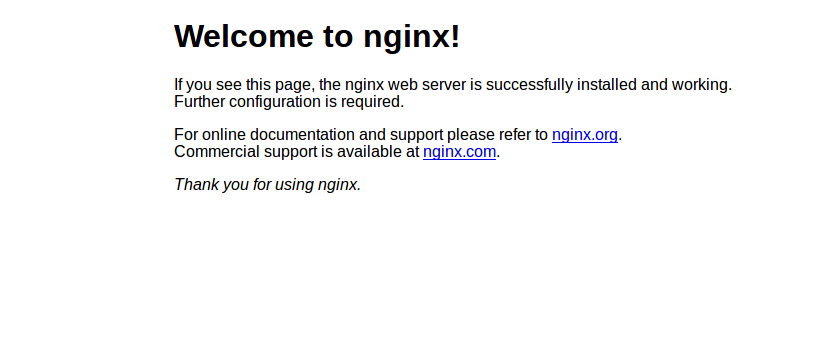
As you can see from above terminal output, your Nginx service is running. However, you need to test it on a web browser. After your installation is complete, you will write your instance's floating IP address to web browser to acces Nginx default page. You should see the default "Welcome to nginx!" page, which should look like this:

Note : If you can not access the above page, you need to open the TCP 80 port of your instance from Skyatlas panel. You will need to follow steps in our Access and Security Settings article for security policy.
