
Access and Security Settings
Certain procedures should be followed at the Horizon interface to remote access to your server before creating it.
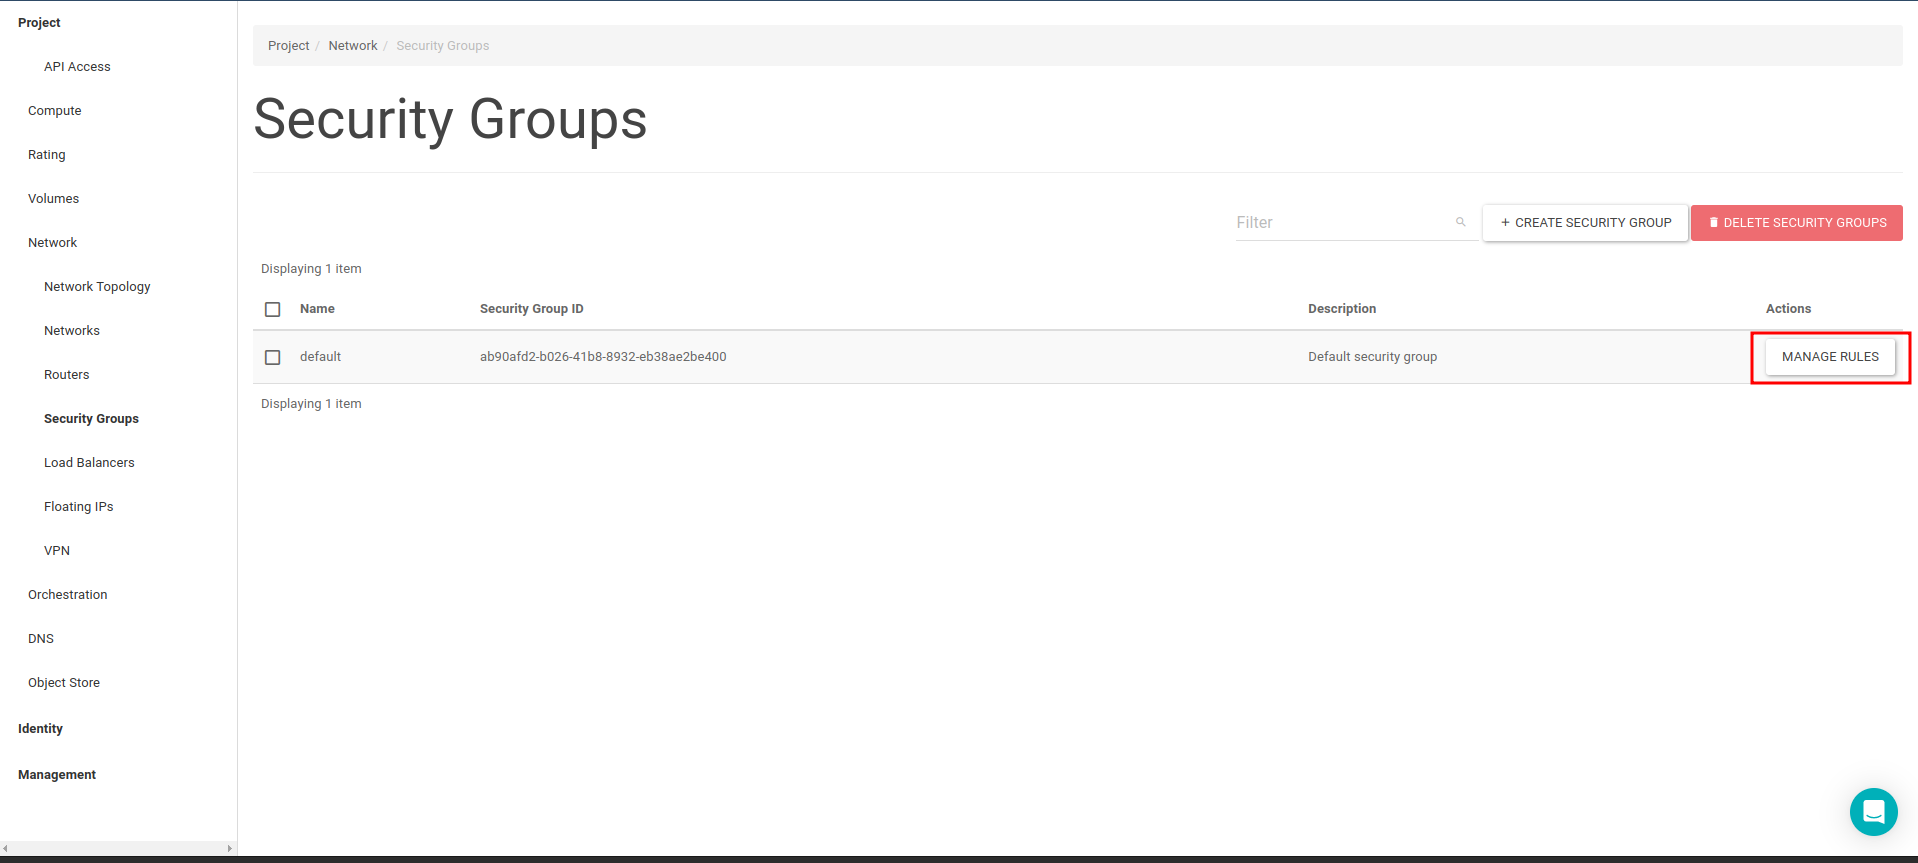
Security Rules
You can create and regulate security rules in order to access Instance.
In order to see these rules, open the Security Groups tab at “ Network → Security Groups “ page and click the Manage Rules button.
Rules can be deleted or new rules can be added from the page in which security rules are listed. To add new rule, click the Add Rule button at the page.
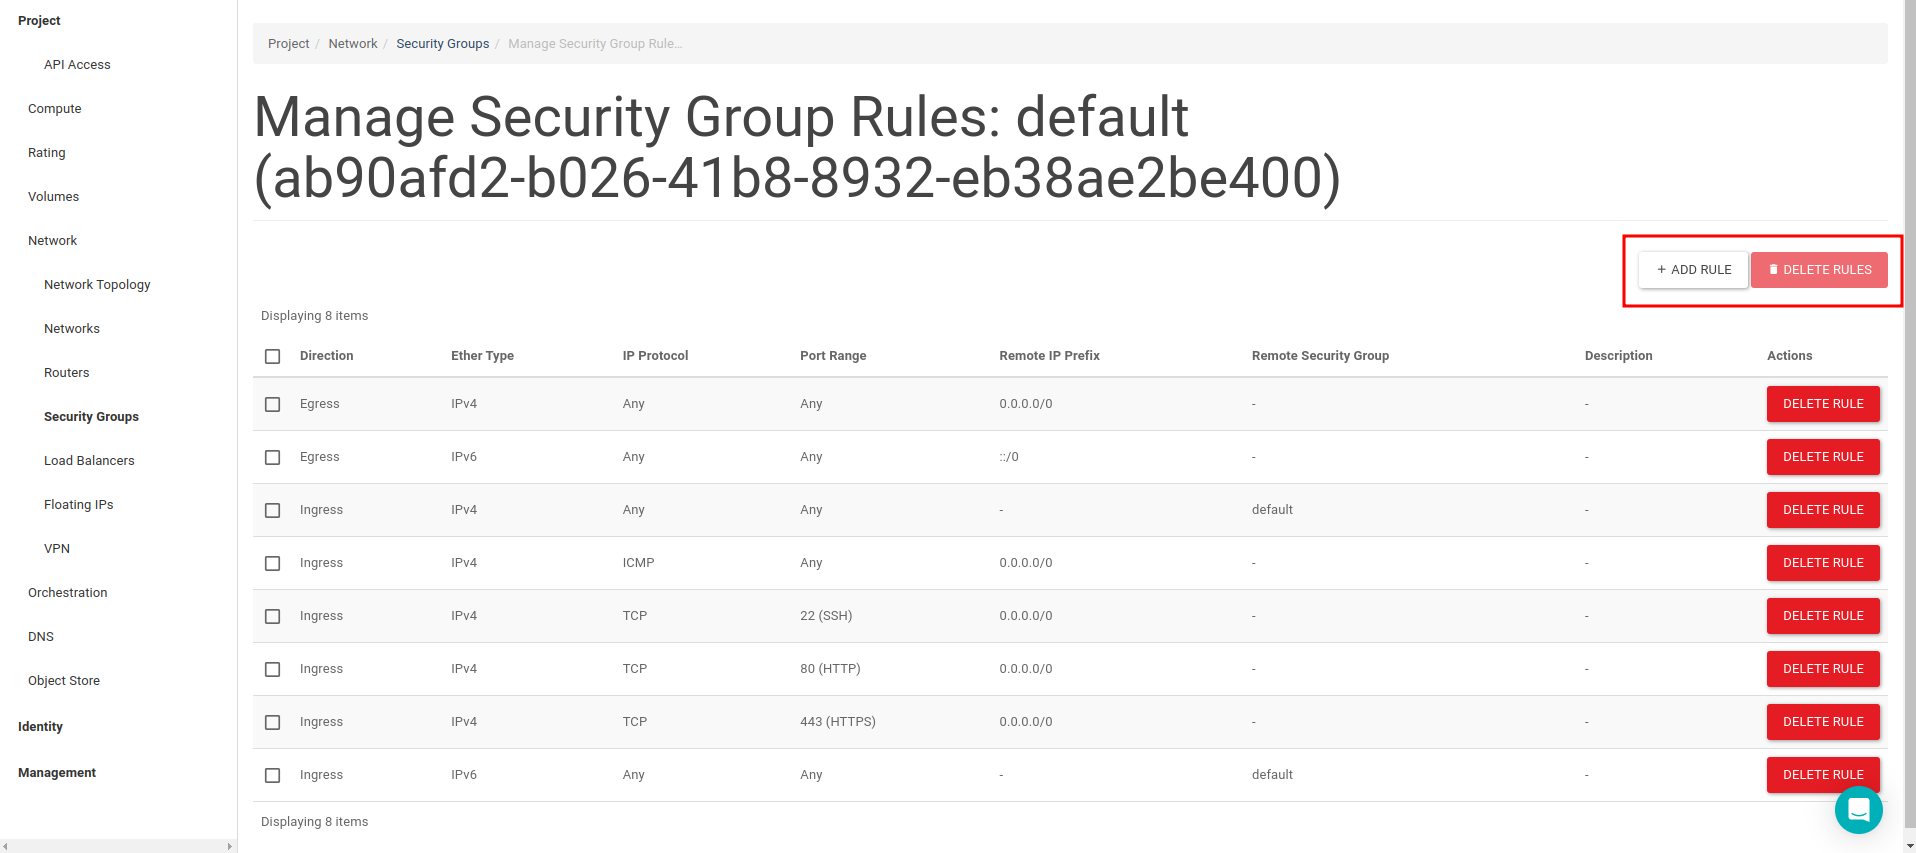
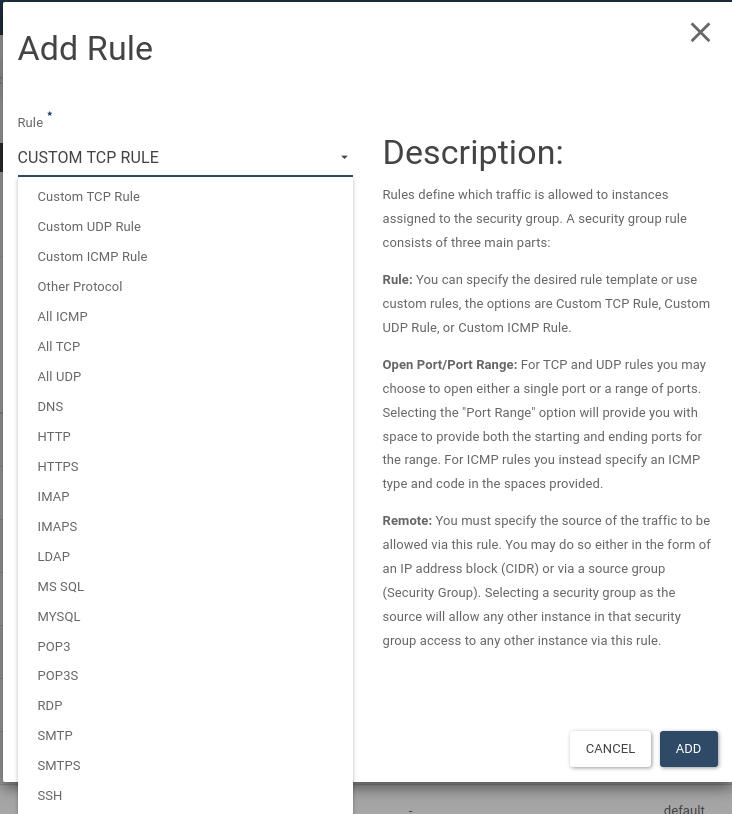
From the opened page, rules that provide accessibility of the instance can be added by choosing.
About SSH Connection
SSH rule should be added to access Linux instance by SSH via port 22.
About RDP Connection
RDP rule should be added to access Windows instance by RDP via port 3389.
Creating Key Pair
In order to see these rules, open the Key Pairs tab at Compute →Key Pairs
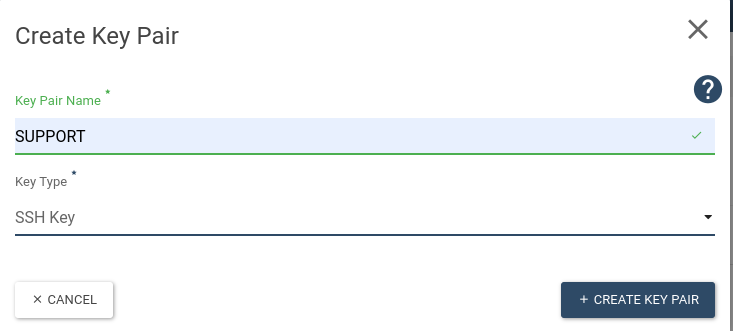
If there is any key created before it is listed here. Click the Create Key Pair button at the top-right to create new key.

An appropriate name is given to the key that will be used for access to instances at the opened pop-up. Click the Create Key Pair button.
After that, download the file that has .pem extension and has a name given for the key. Then downloaded file will be used to connect to public IP given Instance via SSH.
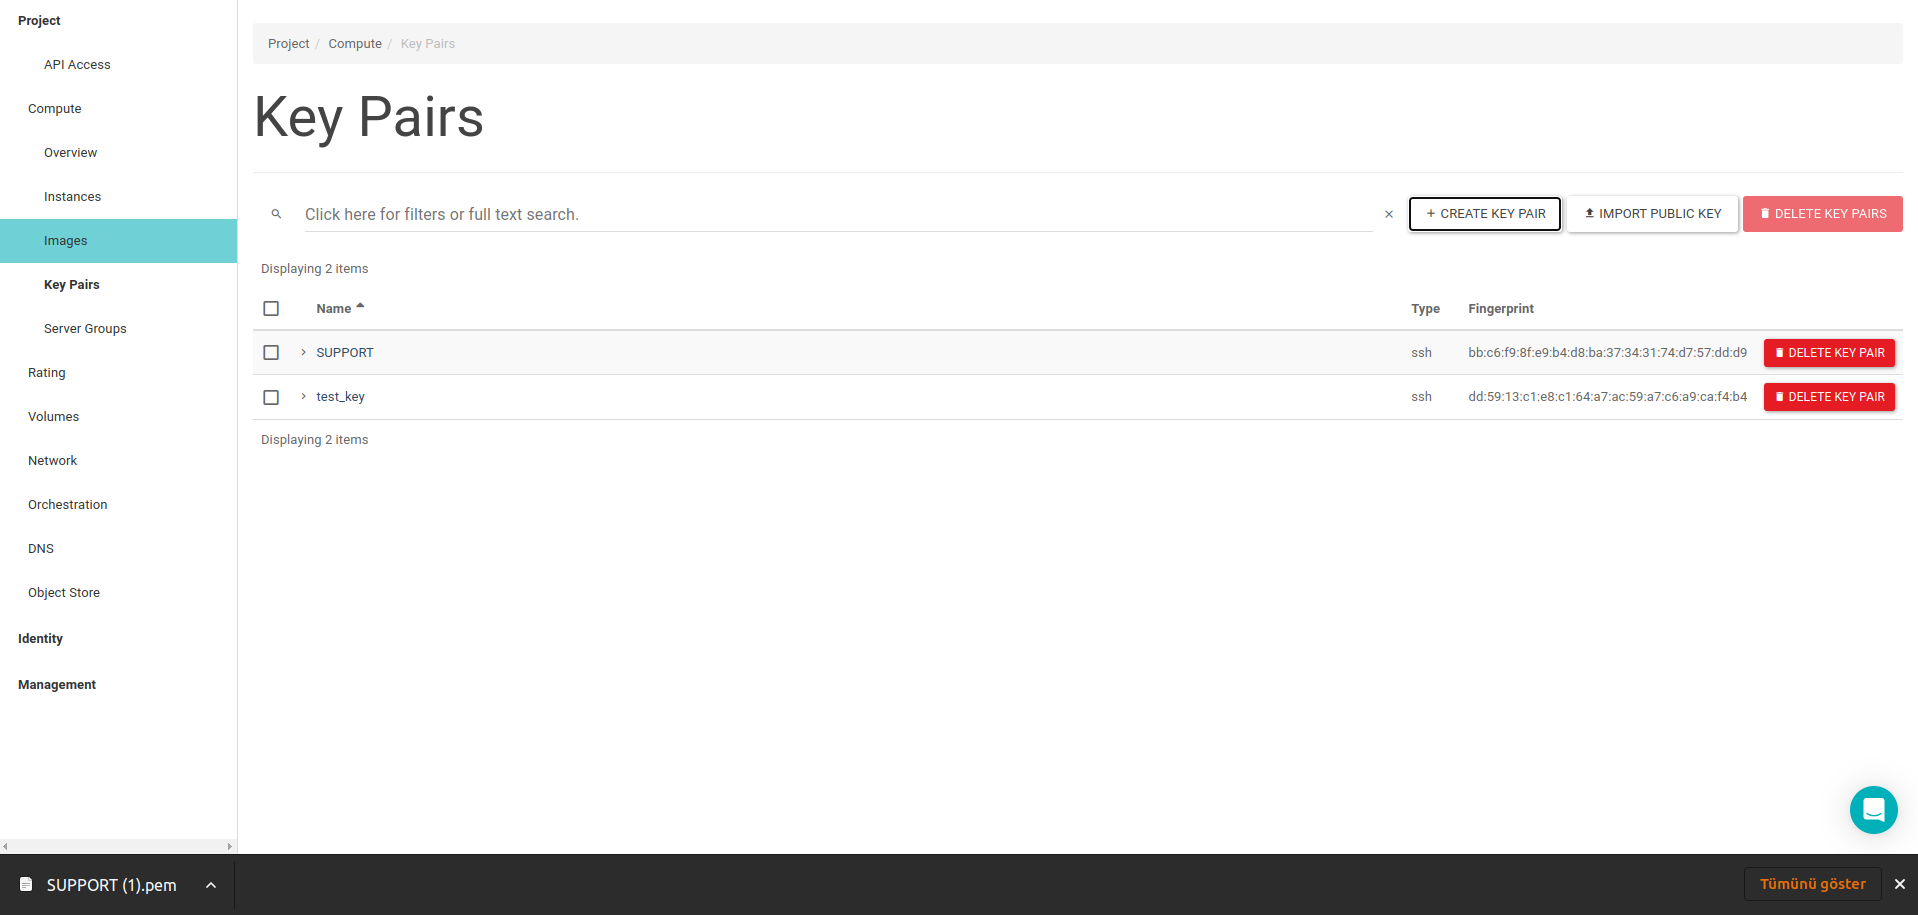
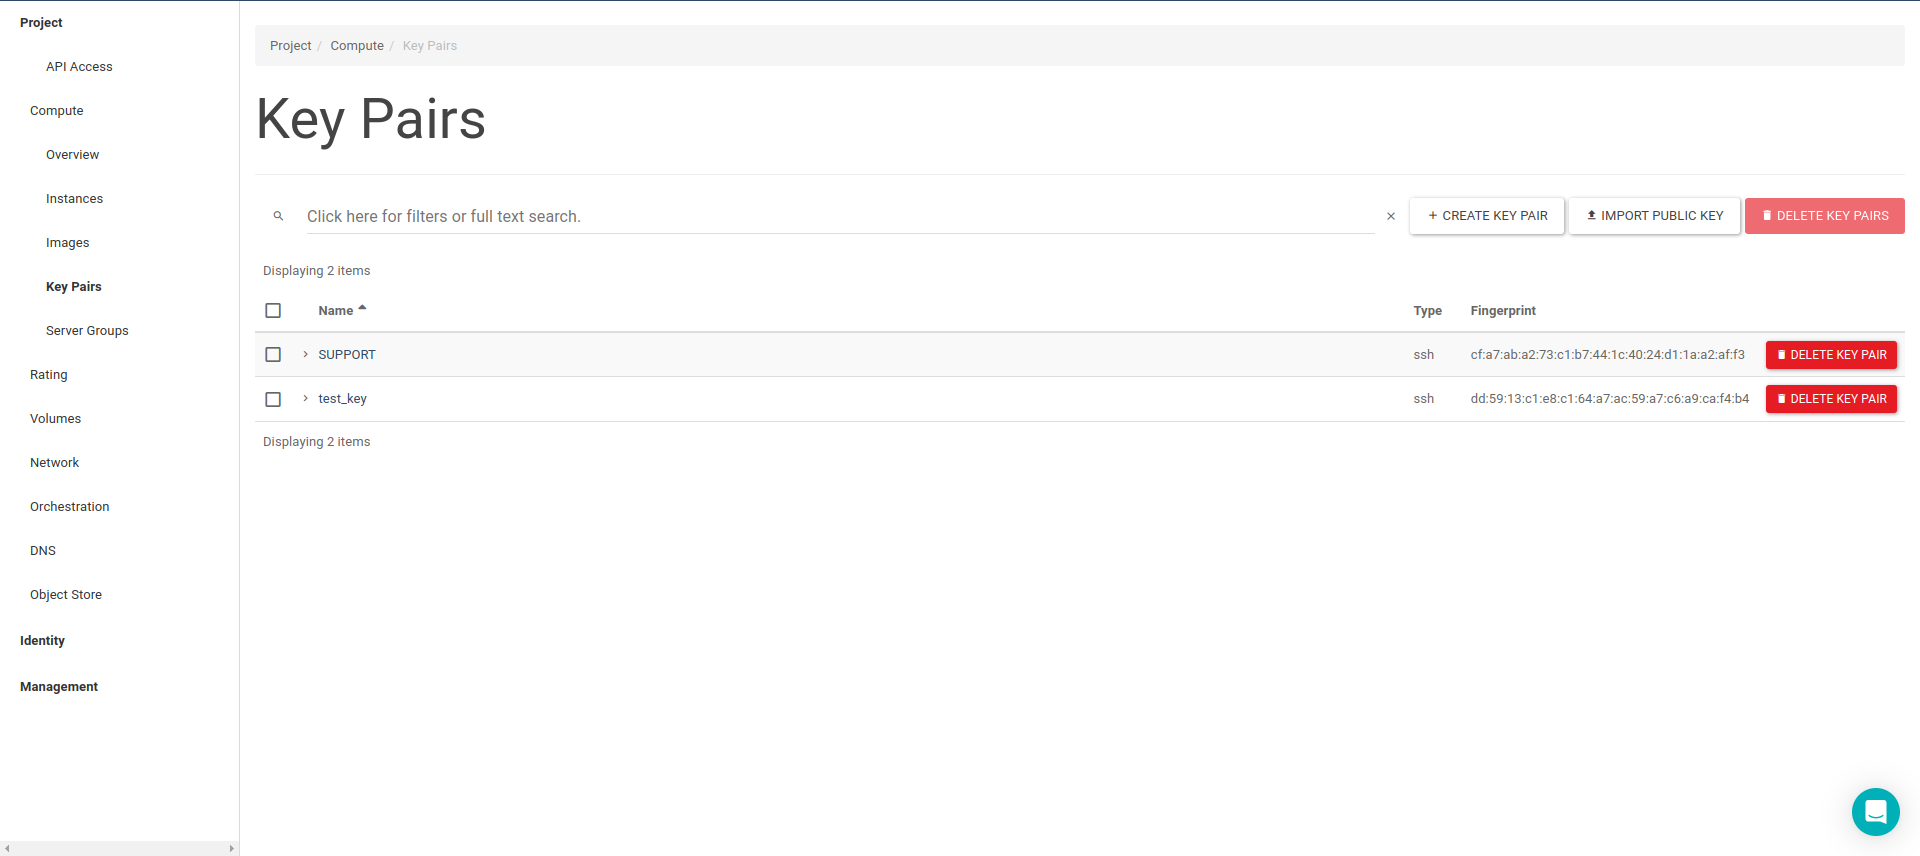
Created Key is listed at the Key Pairs tab in the Key Pairs page.
Permission change should be done as mentioned below for .pem file to be capable of making connection to instance.
chmod 600 <path/to/file.pem>
Adding Key Pair
A new key can be created on the system in which Instance connection will be made.
In order to do this, firstly a new key is created via console on the local system by command line mentioned below.
ssh-keygen -t rsa -f cloud.key
After that created key is gotten to import to the panel.
cat ~/cloud.key.pub
Key created as mentioned below is copied to import.
user@user:~$ cat ~/cloud.key.pub
ssh-rsa AAAAB3NzaC1yc2EAAAADAQABAAABAQC5pQvB/L1BO1MvI6XCKtA6raCukvUY4A7bttssf1Ln/Of9/afA39Wbqc9CUZqjw6V/IWA96Fm9e1Xzh/4q7BHZgIEiLw1grpstideKq3dVUKt1Ul1+c7GIp3XXljpo3+QtxA5pZyi30l2nDrkbm6Wqhiwu2jhz74iMbbrmAMXlK9baN2f2yC65ucUV/gj9U/tU0C/vneOtp+26In6+roxi9TYWs9msldAQd1iK00Tj9irsbd0h0X/pQ73CMxnBz9400ss027KCjoWeJZGezn9IYoHKrFfxVAZ6oP+sjqfGy7KWJQoxsZHcN0XcMB3U7+/lkjHjl99wqpY19igLL user@user
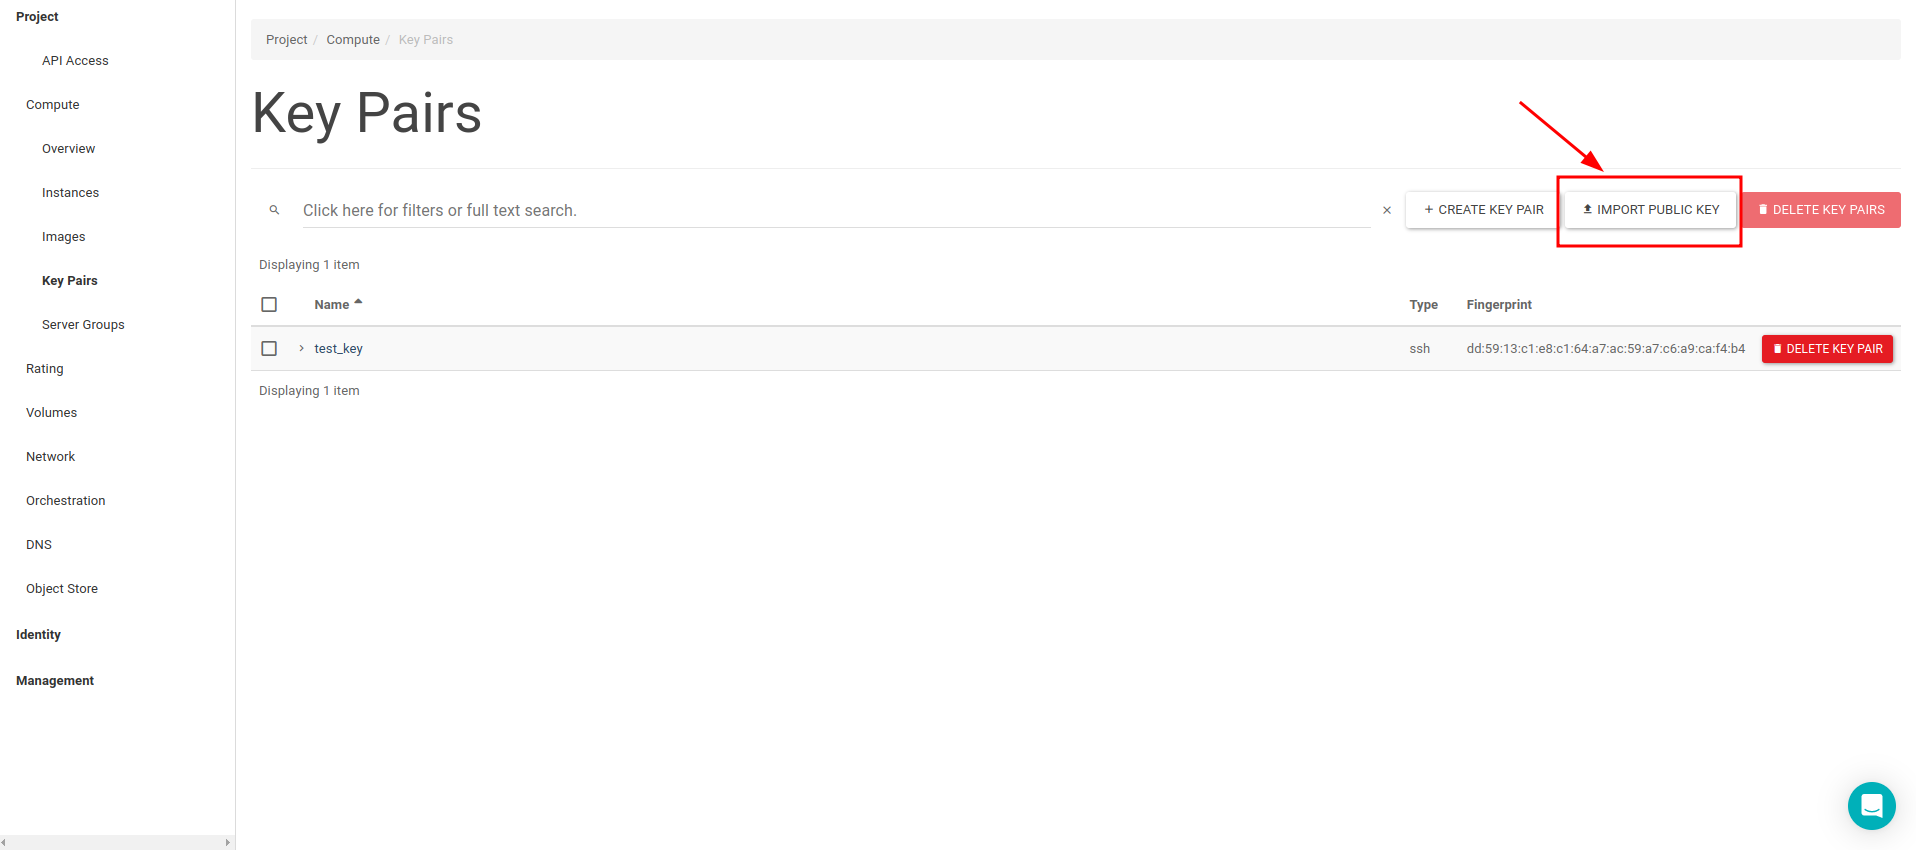
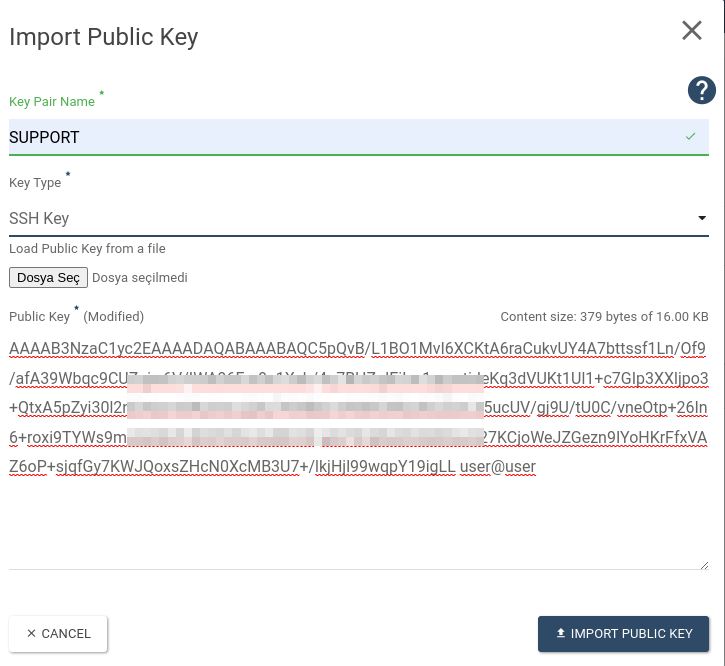
Text copied from ssh-rsa part to user@user(inclusive) is added by clicking Import Key Pair at the Key Pairs screen on the panel.
A key name is entered via Import Key Pair pop-up page and past the copied text here. Then click the Import Key Pair button.
Created key is listed at the Key Pairs tab on the Key Pairs page.
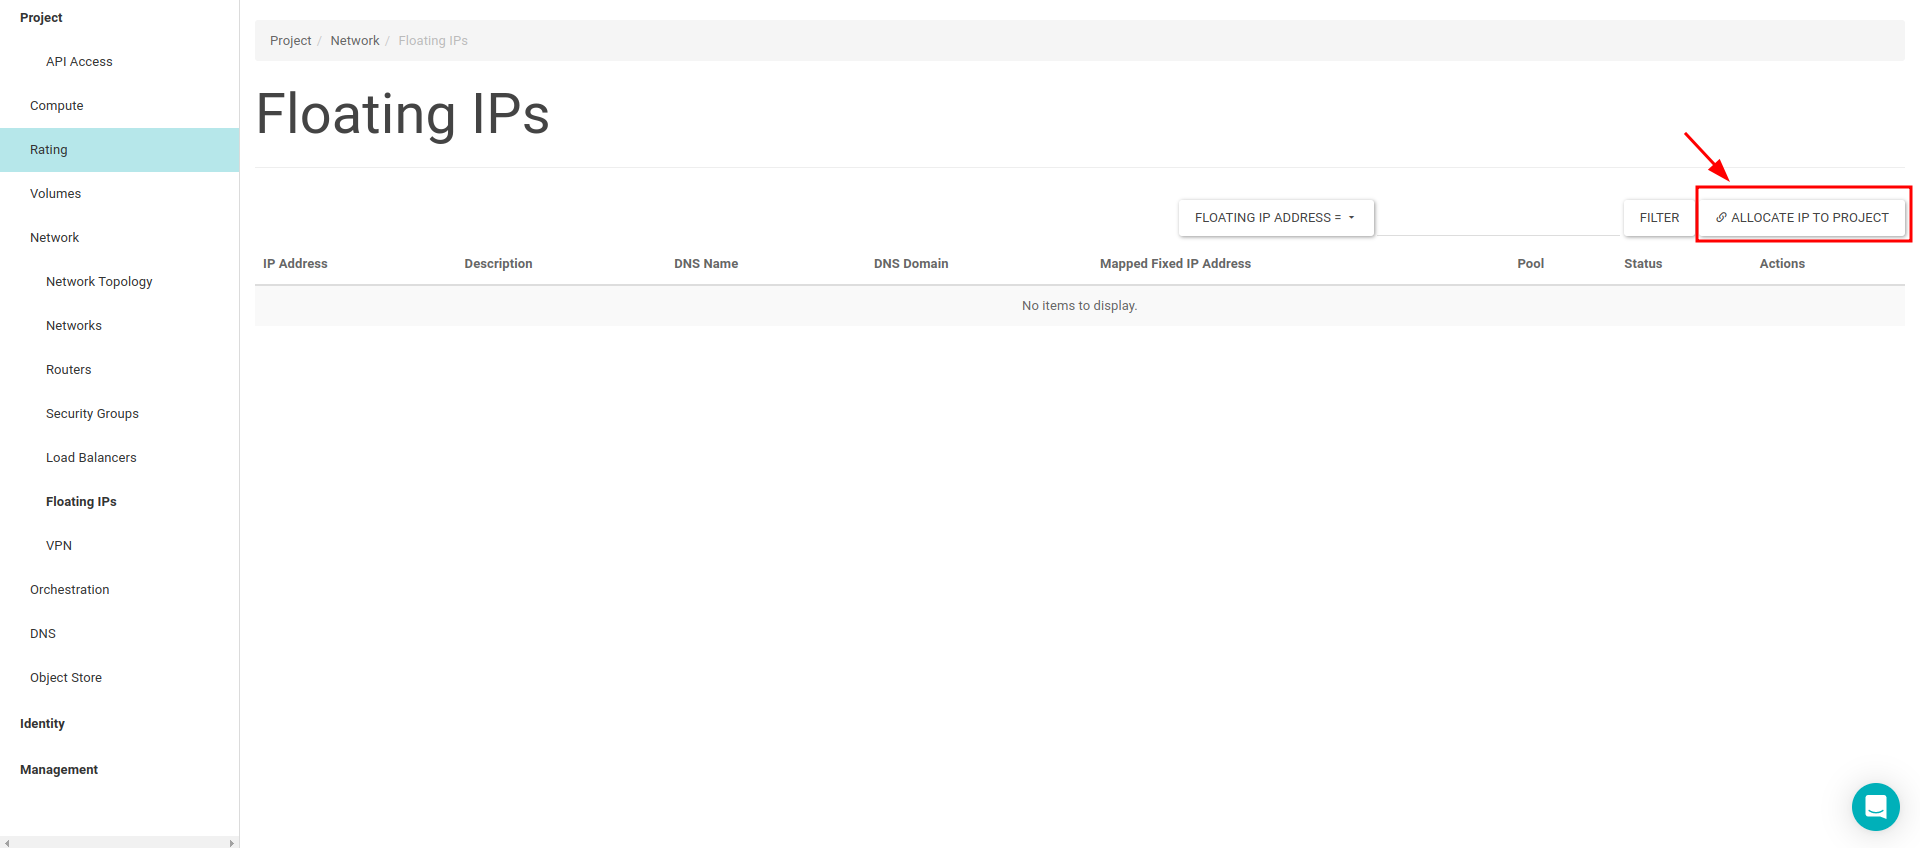
Adding Public IP
If you want to access created Instance via Internet, public IP should be assigned. For this open the Floating IP's tab on the Network page. Click the Allocate IP To Project button at the top-right.
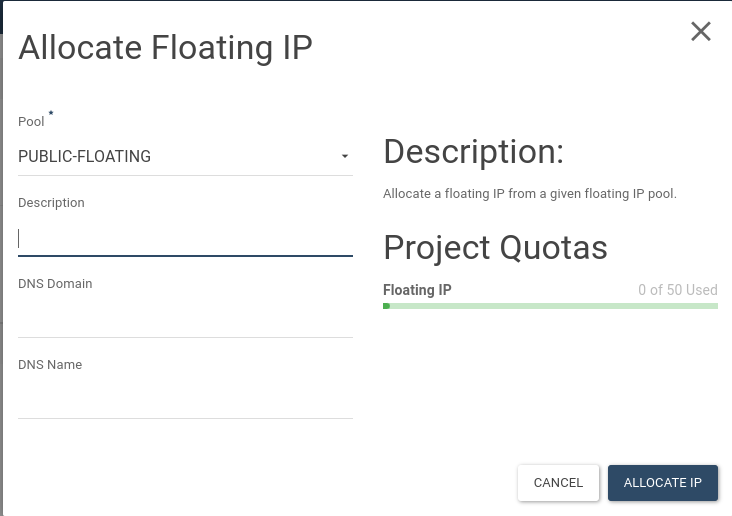
Pool selection at the opened pop-up remains default and click the Allocate IP button at the right down. Therefore, a new public IP is assigned to project.
Assigned Public IPs is listed on the Floating IP's tab.
