Launch Your First Server
You can create your own server in a few minutes by using Skyatlas Horizon interface. In order to do this, first of all you should create a network and then you should set the settings of access and security. After doing previous steps, you can create your first server by following steps that will be mentioned below.
Creating Server
Cloud servers are defined as Instance in the Horizon interface.
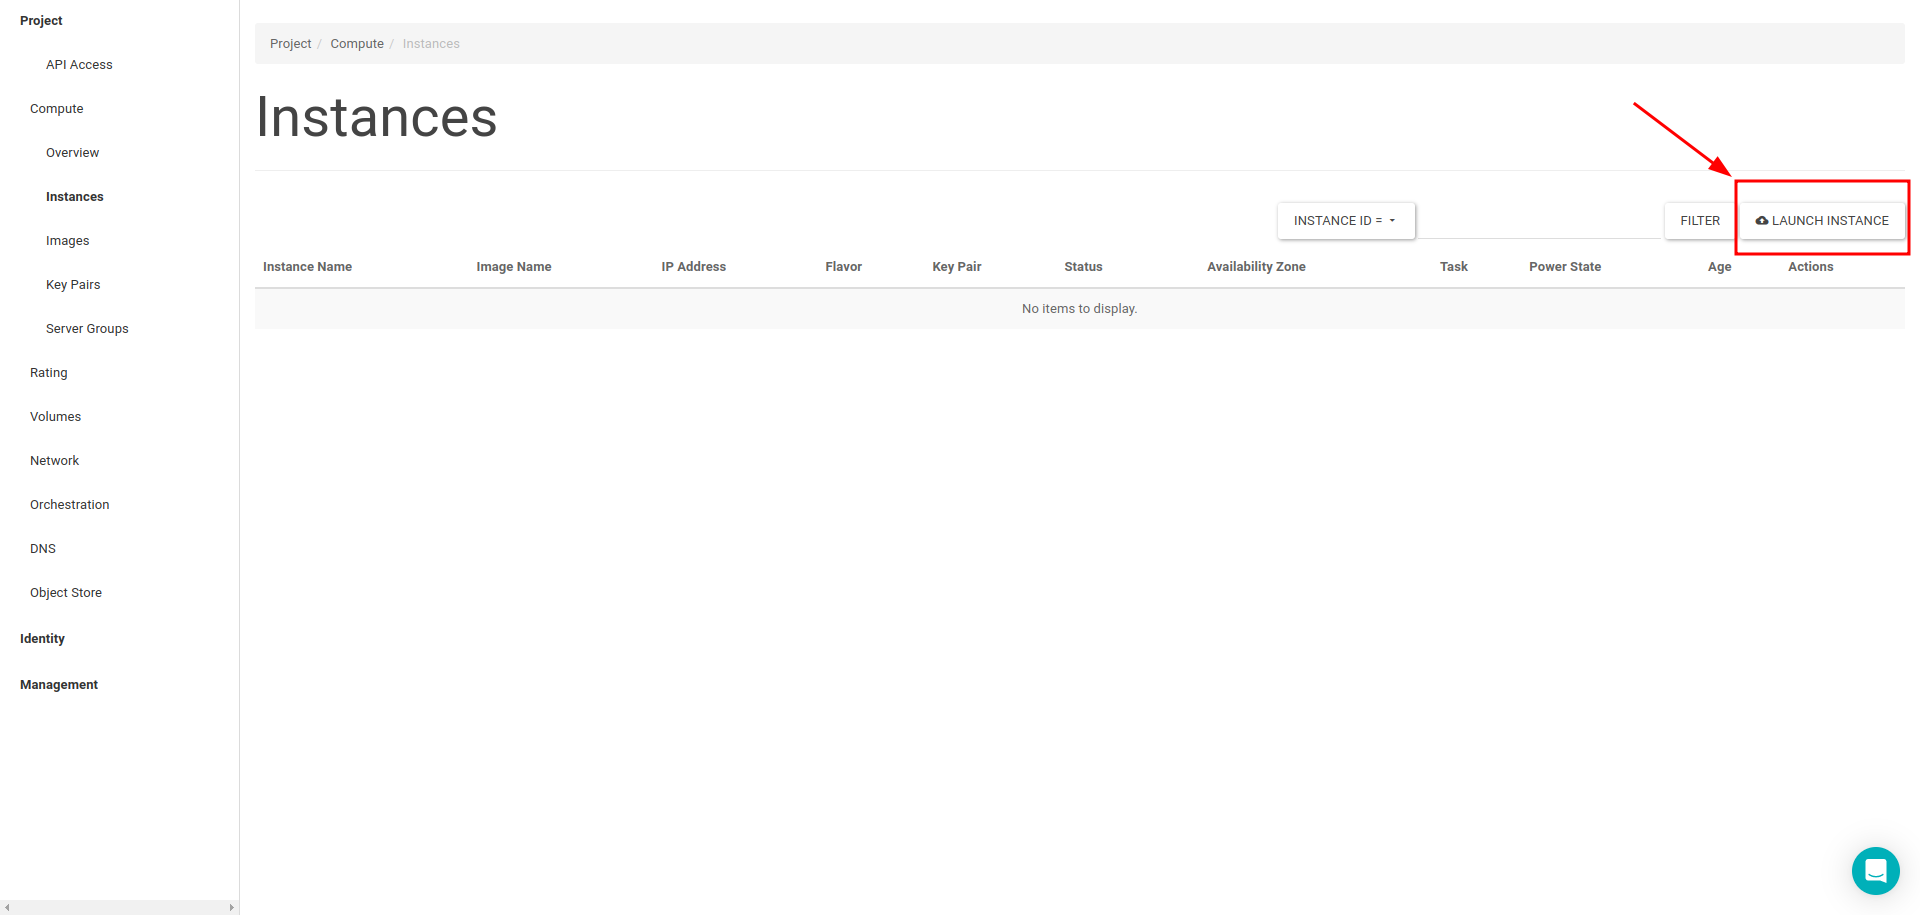
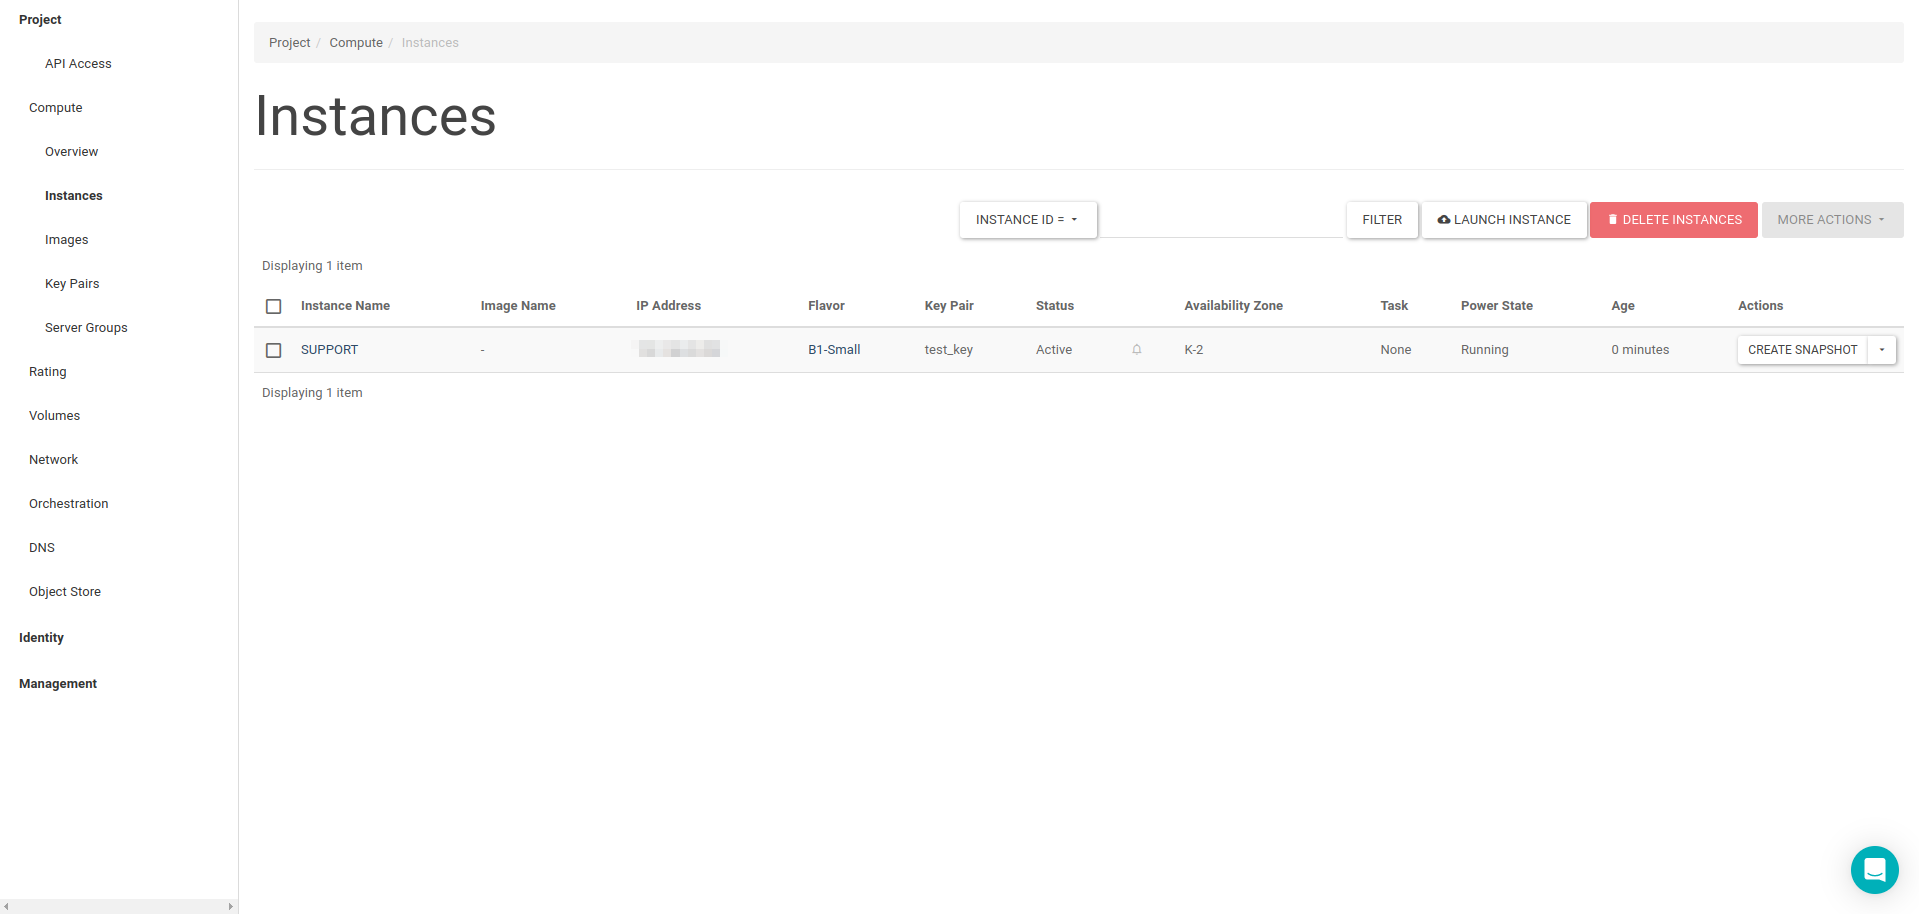
Page is opened via Instance menu which is placed under the Compute heading located in left of the panel. If there is any instance created before it would be listed here. To create new instance you should click the Launch Instance button located in the top-right.
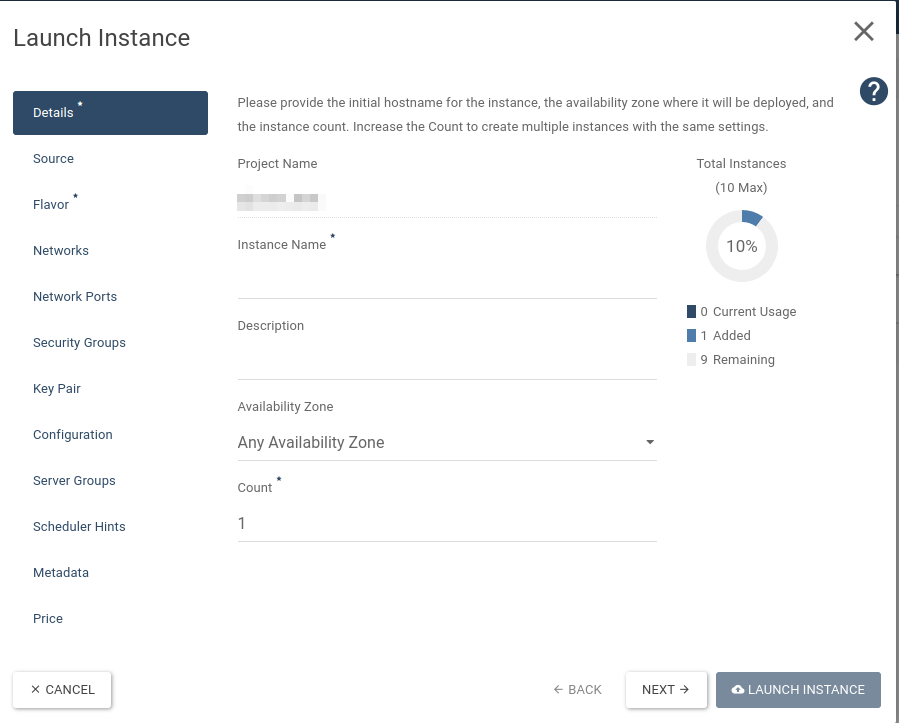
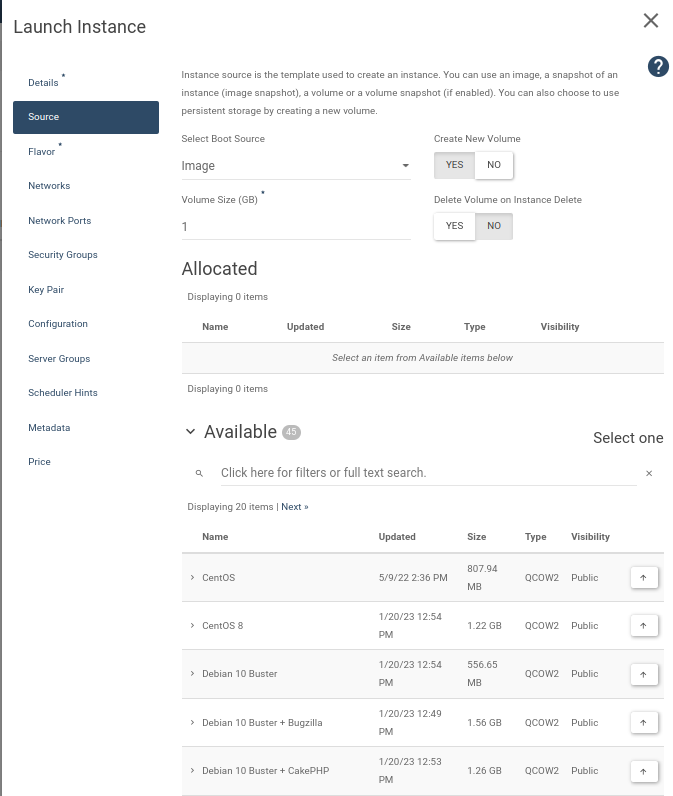
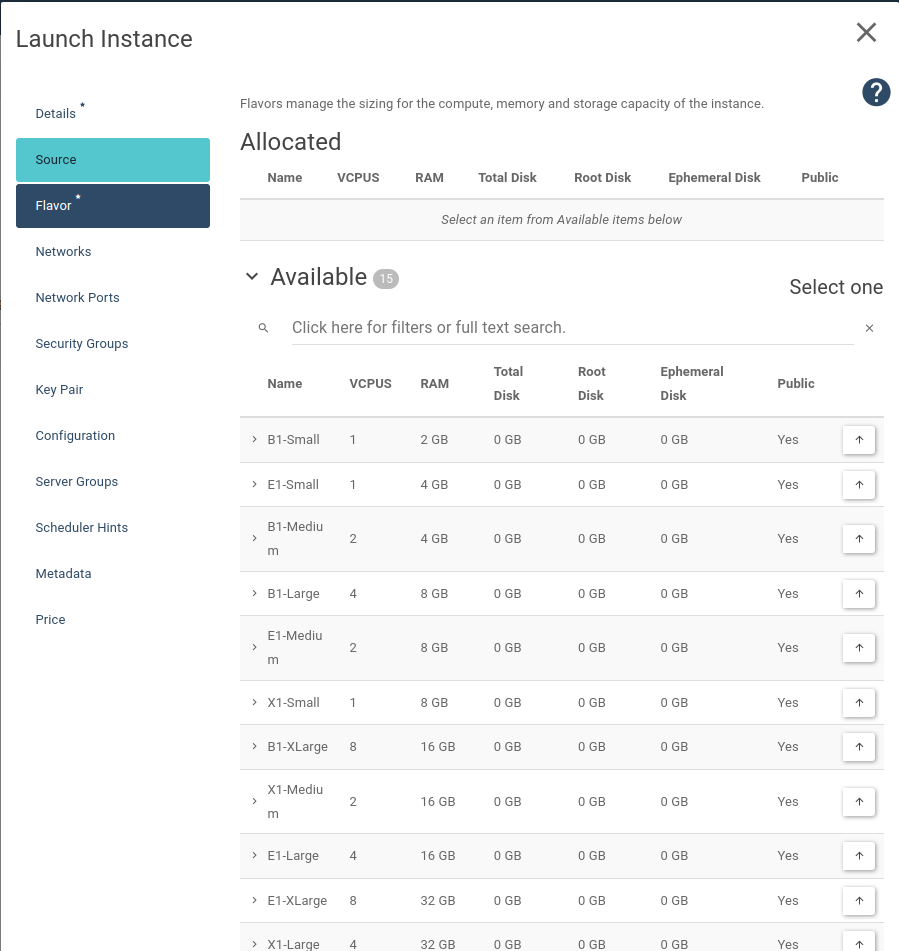
Firstly requested name is entered to Instance Name area. After that "Select Boot Source" is selected for instance that will be created for very first time. Then, needed operating system is chosen from the image list. Then needed flavor is chosen from the Flavor selection and Launch button at the rightdown is clicked.
Observe that created instance's status is running.
Adding Public IP
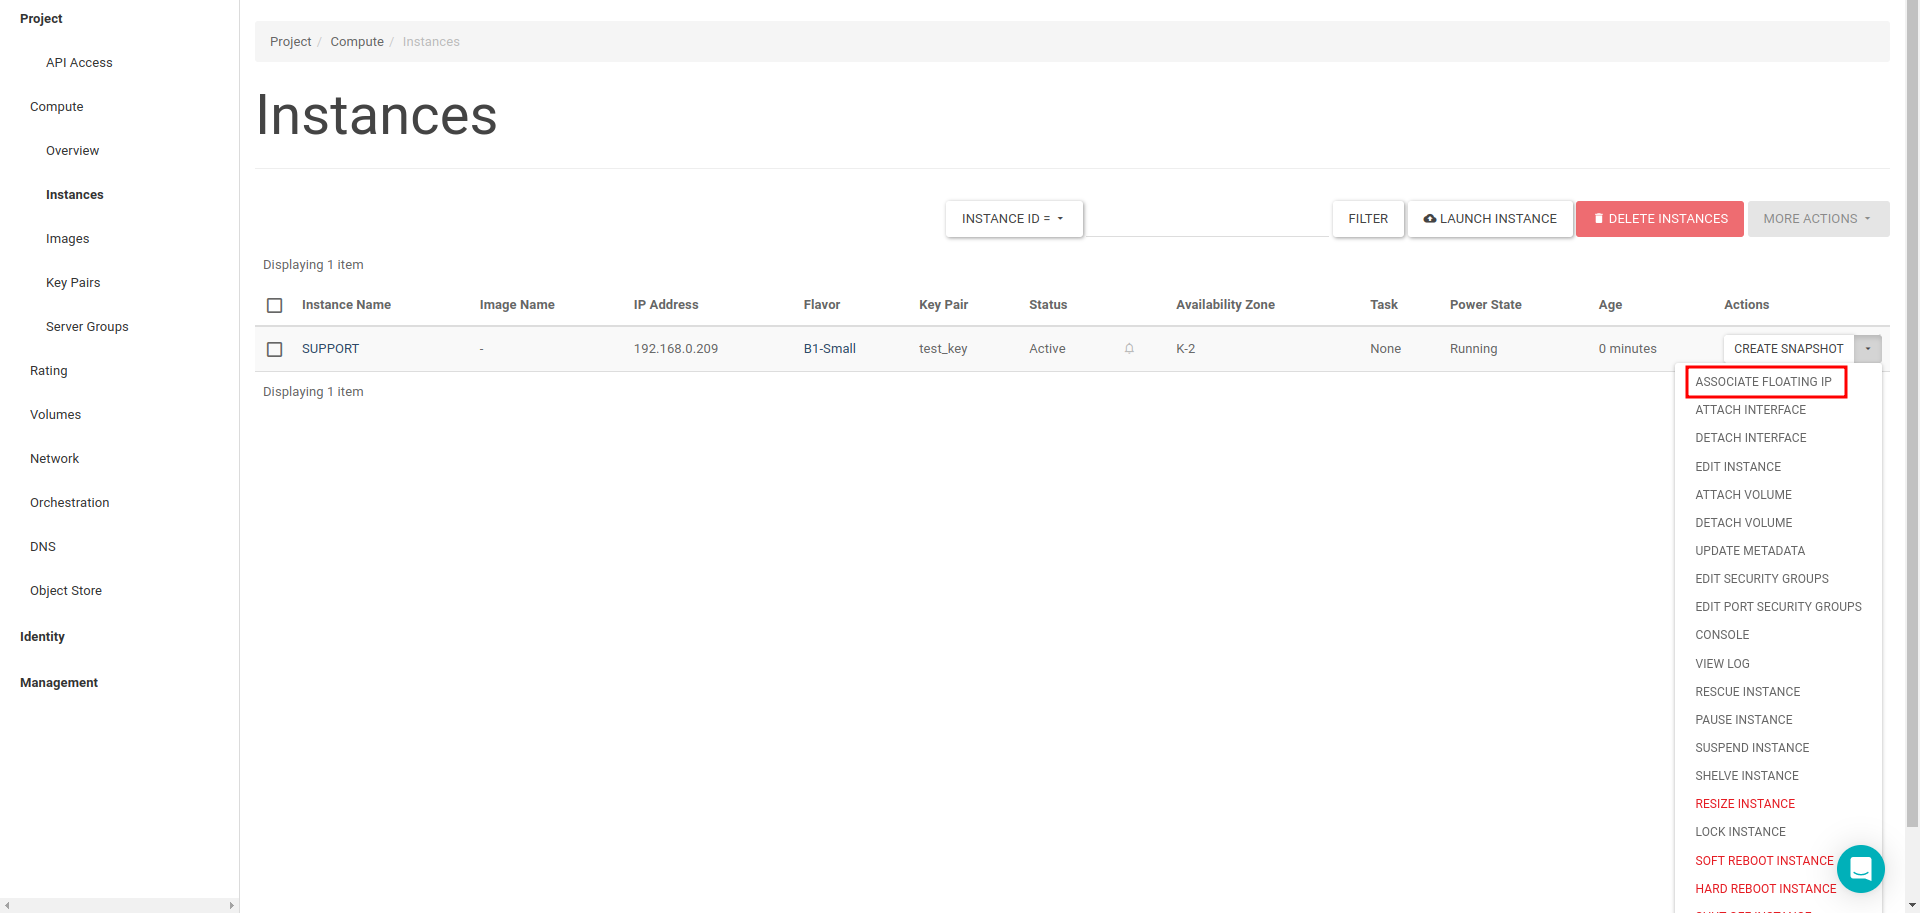
In order to access created instance via Internet, public IP should be given at first. So as to do this, "Assoclate Floating IP" option is selected from list at the end of the Instance line which public IP will be given.
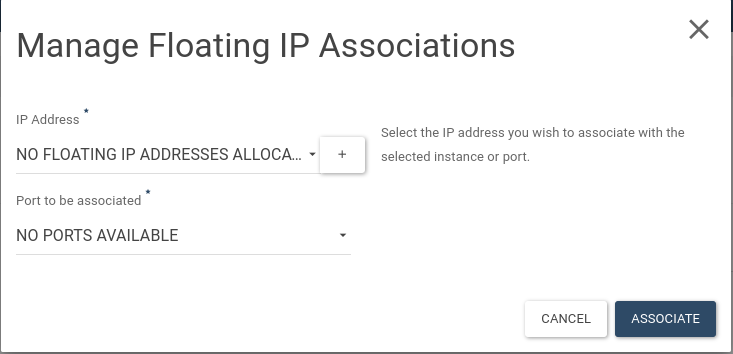
IP gotten before is chosen from the opened pop-up and Assoclate button at the right down is clicked.
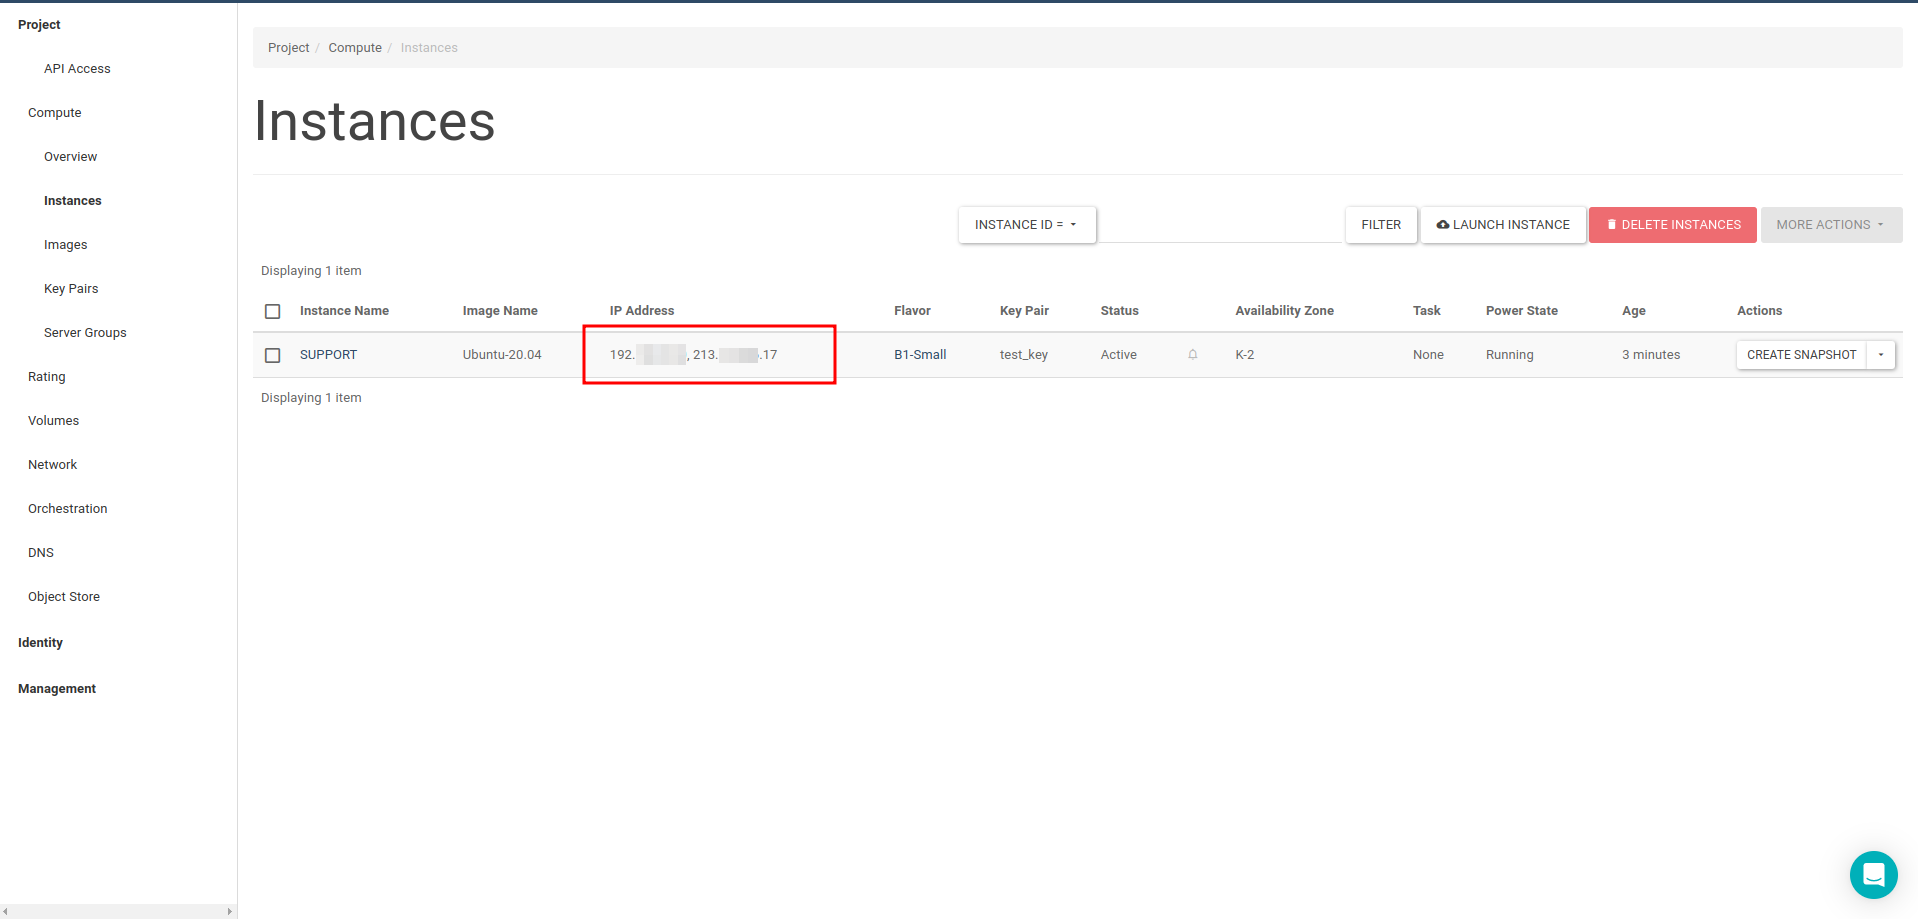
IP information is viewed at the IP Adress location. This location is belong to the instance that IP is assigned in the Instance page.
