
How to Install Apache Web Server on Ubuntu 16.04 Instance
he Apache web server is the most widely-used web server in the world.
In this guide, we will discuss how to install Apache Web Server on your Ubuntu 16.04 instance.
Before you install Apache2, you should have non-root user with sudo privileges.
We will begin by updating our system, after that we can install apache2 package.
$ sudo apt-get update
$ sudo apt-get install apache2
After installation you can check your system to make sure the service is running by typing:
$ sudo systemctl status apache2

● apache2.service - LSB: Apache2 web server
 Loaded: loaded (/etc/init.d/apache2; bad; vendor preset: enabled)
 Drop-In: /lib/systemd/system/apache2.service.d
 └─apache2-systemd.conf
 Active: active (running) since Thu 2017-11-30 13:14:29 UTC; 5min ago
 Docs: man:systemd-sysv-generator(8)
 CGroup: /system.slice/apache2.service
 ├─12023 /usr/sbin/apache2 -k start
 ├─12026 /usr/sbin/apache2 -k start
 └─12027 /usr/sbin/apache2 -k start
If the output like the above, the service appears to have started successfully.
After your installation is complete, you will write our instance floating IP address to web browser to access your Apache2 default page. You sholud see the default Apache2 Ubuntu web page, which should look like this
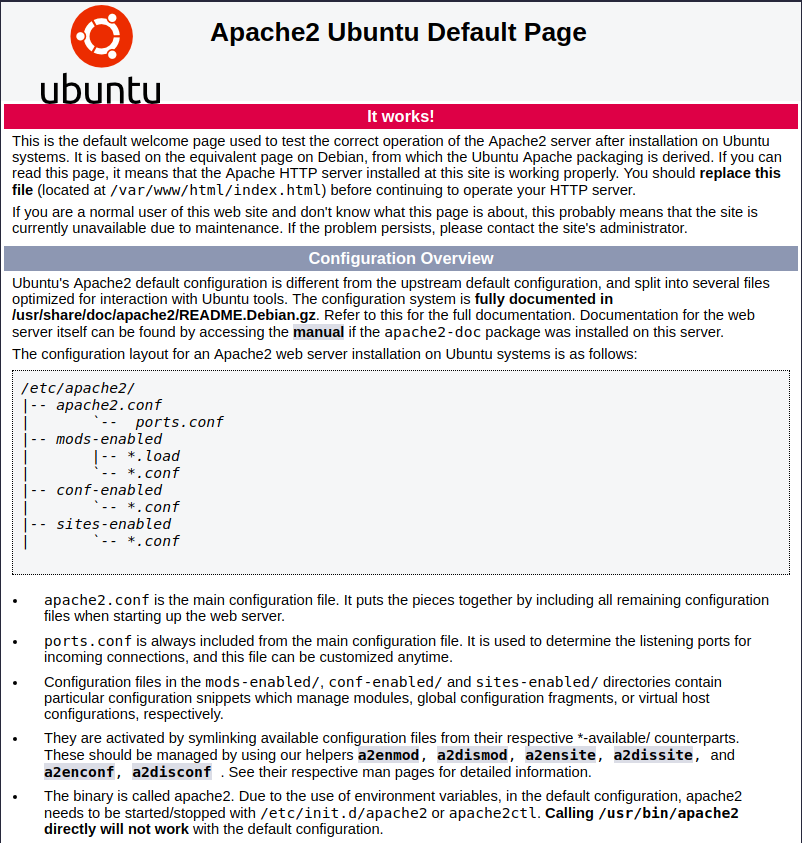
Note : If you can not access the above page, you need to open the TCP 80 port of our instance from the Skyatlas panel. You will need to follow the steps in our Access and Security Settings article for security policy.