CloudBerry Explorer for Skyatlas Object Storage (Windows)
CloudBerry Explorer for OpenStack Storage is a free file management tool that enables cloud storage on Openstack Swift (object storage).
Supported Operating Systems:
Windows 7 and above; Windows Server 2008 and above
System requirements:
Microsoft .NET Framework 4.0, 1.4 GHz 64-bit processor
512 MB RAM, 32 GB minimum disk space
Gigabit (10/100/1000baseT) Ethernet adapter
Setup
To access the CloudBerry Explorer for OpenStack Storage application, an OpenStack cloud account must be obtained and an object storage container must be created. When a user account is created via Skyatlas, access to object sotrage can be provided through the application with the same account.
If you do not have an account, click here
to create a Skyatlas user account .
If you have an account click here
Note: It must be marked as Public when creating the Object storage container.
You can access the installation file of the application via the following URL.
http://www.cloudberrylab.com/free-openstack-storage-explorer.aspx
The installation file of the free version is installed on the compatible Windows operating system and the steps in the screenshots below are applied for Skyatlas object storage access.
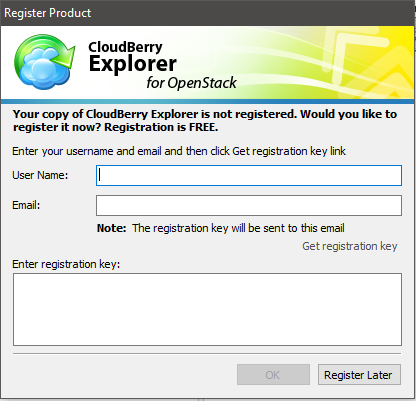
When the application is opened, the user name and e-mail fields are entered for the Cloudberry free activation registration that appears on the screen. If desired, this step can be completed later with the Register Later button.
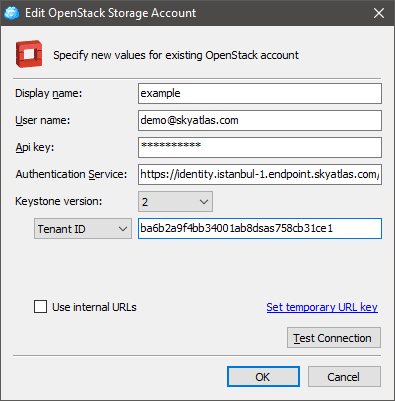
After opening the application, selecting New Openstack Account from the File menu opens the screen where Skyatlas user account information can be entered.
- Email address with Skyatlas username in User name
field, - Skyatlas user password in Api key
field, - URL in Identity line in https://panel.skyatlas.com/project/access_and_security/ page in Authentication service field , - In the Tenant ID field, the Object Storage is on the same page.
The part after the AUTH_ prefix of the URL in the line is entered and the account is added with the OK button. If desired, you can check whether the connection is successful or not with the Test Connection button.
- If it is Keystone version , 2 should be selected.
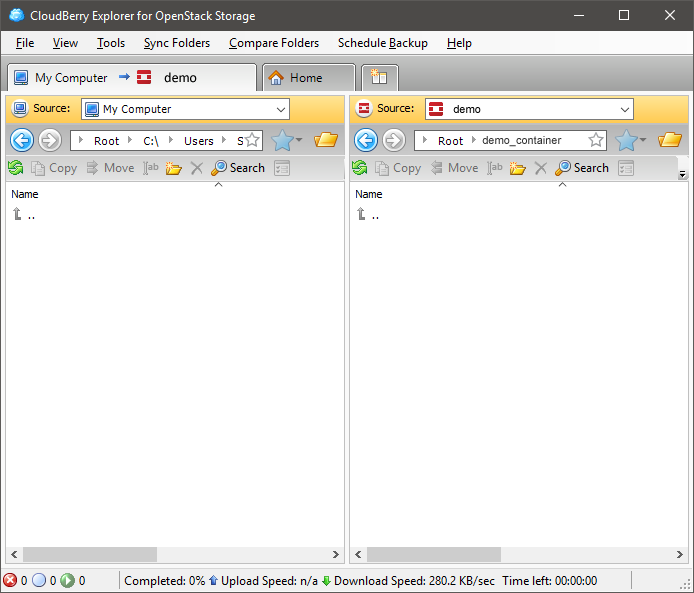
After the connection is established, you will see the screenshot below.
After this point, you can view the local system folders and files on the left, and view the container created on Skyatlas object storage on the right, and establish a source-target relationship, such as uploading and deleting files.The URL required to share the uploaded files can be obtained by right-clicking on the file and selecting the Web URL option. ( URL becomes inaccessible when Object storage container is not public )